Master The Art of Products Animation in Blender.
Learn how to create realistic product Renders and Animations in
Blender
https://www.youtube.com/watch?v=L71nDu-UvLQ
Buy now ” Master The Art of Products Animation”
WHAT DO OUR STUDENTS SAY ?
Over +
0
Happy Student over all platforms
Over
+
0
Happy student
Over All Platforms

Osama
والله انت انسان طيب و رائ ربي يكرمك و يوفق والله تعلمت منك كثر من الاشياء من محتواك في هذا المجال ربي يوفقك
Issam Obul
انا ايضا بفضلك تعلمت اساسيات هذا المجال و اتفتح لي باب رزق ما كنت اتخيله ولله الحمد انشاءالله يجازيك على كل الي تعملو انا من متابعينك الاوائل اخوك من المغرب

Andrew
Hello seif 3aml eh I wanna say to you that you are amazing bgd khateer a7san wahed bi3ml tuts l blender ha2i2i I have a problem with geometry nodes If you cam make a tutorial about it plz.

Yara
صرلي فتره قصيرة بيمرقوا مقاطعك قدامي و تحمست تبلش اتعلم على البلندر نزلتو و حبلش قريب فيه
![]()
Karem El Araby
لكل الناس الي تسال عن ال 3D Project ده ، ده كان تطبيقي لكورس 3D Product Design للعبقري سيف حسام ، سيف انا بشوفه من اشطر الناس العرب في المجال ، و كمان شاطر جدا في توصيل المعلومة ويخليك تحب المجال و تطور فيه بسرعة
![]()
Esam Elshandedy
انا متابع القناه بتاعتك و الصراحة الفيديوهات ممتازة و بتعلم منك كتير
![]()
Ahmed Badr
انا عايز اقولك ربنا يباركلك و يرزقك على المعلومات الي بتضيفها للناس الي عايزه تتعلم 3D و بتبسطها انا واحد منهم …
احسنت يا سيف
Introduction To
Blender
Start Learning the fundamentals of 3D in Blender, Through this introduction Level you will gain a quite good knowledge in blender interface and tools to start working on the next levels.
- Learn how to navigate in Blender
- Learn the Modelling Essentials and Tools.
- Learn how to setup a good light and render.
Course Duration : 4 hours
Course Carriculum
body:not(.elementor-editor-active) .elementor-widget-accordion .elementor-tab-content {
display: none!important;
}
01 – Introduction to Blender
1.1 Installing Blender
1.2 Setting up Blender
1.3 Transformers in Blender
1.4 Navigation in Blender
1.4 Snapping
1.6 Duplicating in Blender
1.7 Shaser Editor in Blender
1.8 Adding & Linking Materials in Blender
1.9 Setting Up Our Camera in Blender
1.10 Viewpoint Modes
1.11 Rendering in Blender
1.12 Adding HDRI in Blender
1.13 Cycles & EVEE in Blender
02 – Blender User Intrerface
2.1 User Interface
2.2 Selection In Blender
2.3 3D Cursor
2.4 Annotation
2.5 Measure Tool
2.6 Gizmo In Blender Part 1
2.7 Gizmo In Blender Part 2
2.8 Prespective & Orthographic
2.9 Splitting WorkSpace
2.10 Blender Default WorkSpace
2.11 Outliner
2.12 Properties Bar
2.13 Timeline
2.14 File Saving & Blender Manual
3 – Modeling Essentials in Blender 01
3.1 Edit mode in Blender
3.2 mesh in blender
3.3 transformers shortcuts
3.4 non manifold model
3.5 all blender meshes
3.6 extrude region
3.7 extrude individual
3.8 extrude along normals
3.9 extrude manifold
3.10 extrude to cursor
3.11 extrude shortcuts
3.12 selecting faces loops
3.13 subdividing
3.14 loop cuts
3.15 edge slide
3.16 bevel
3.17 merging by distance
3.18 beveling vertices
3.19 insert face
3.20 apply scale
3.21 simple excercise
4 – smoothing & subdivision
4.1 smoothing & subdivision
5 – your first project
5.1 setting up out scene
5.2 modeling our home
5.3 setting up our camera
5.4 street layout
5.5 tree scatter
5.6 rendering our scene
Level Two
Package Visualisation
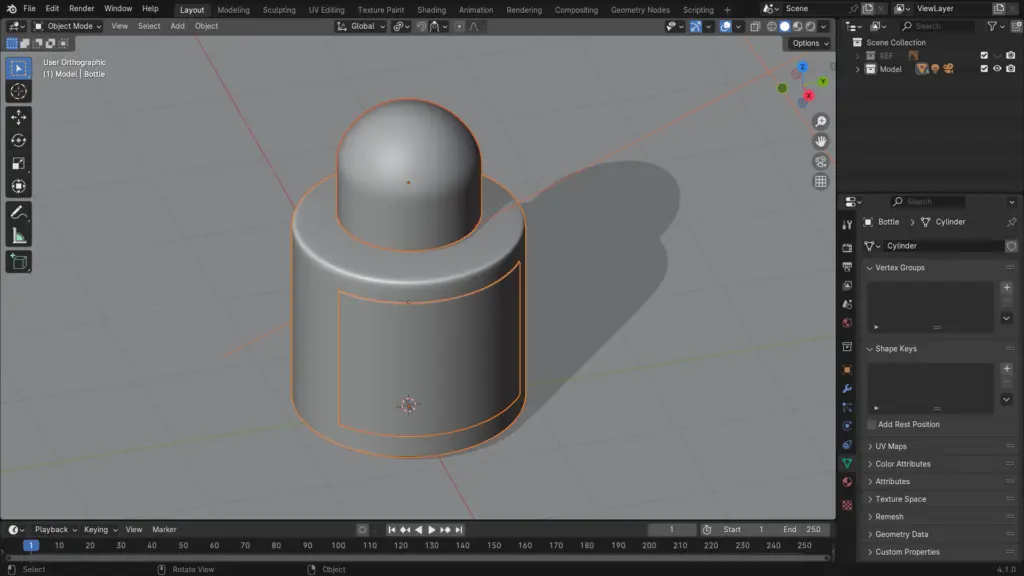
- Learn how to make a simple abstract Model.
- Creating an abstract scene.
- Lighting The scene.
Course Duration : 1h 45Min
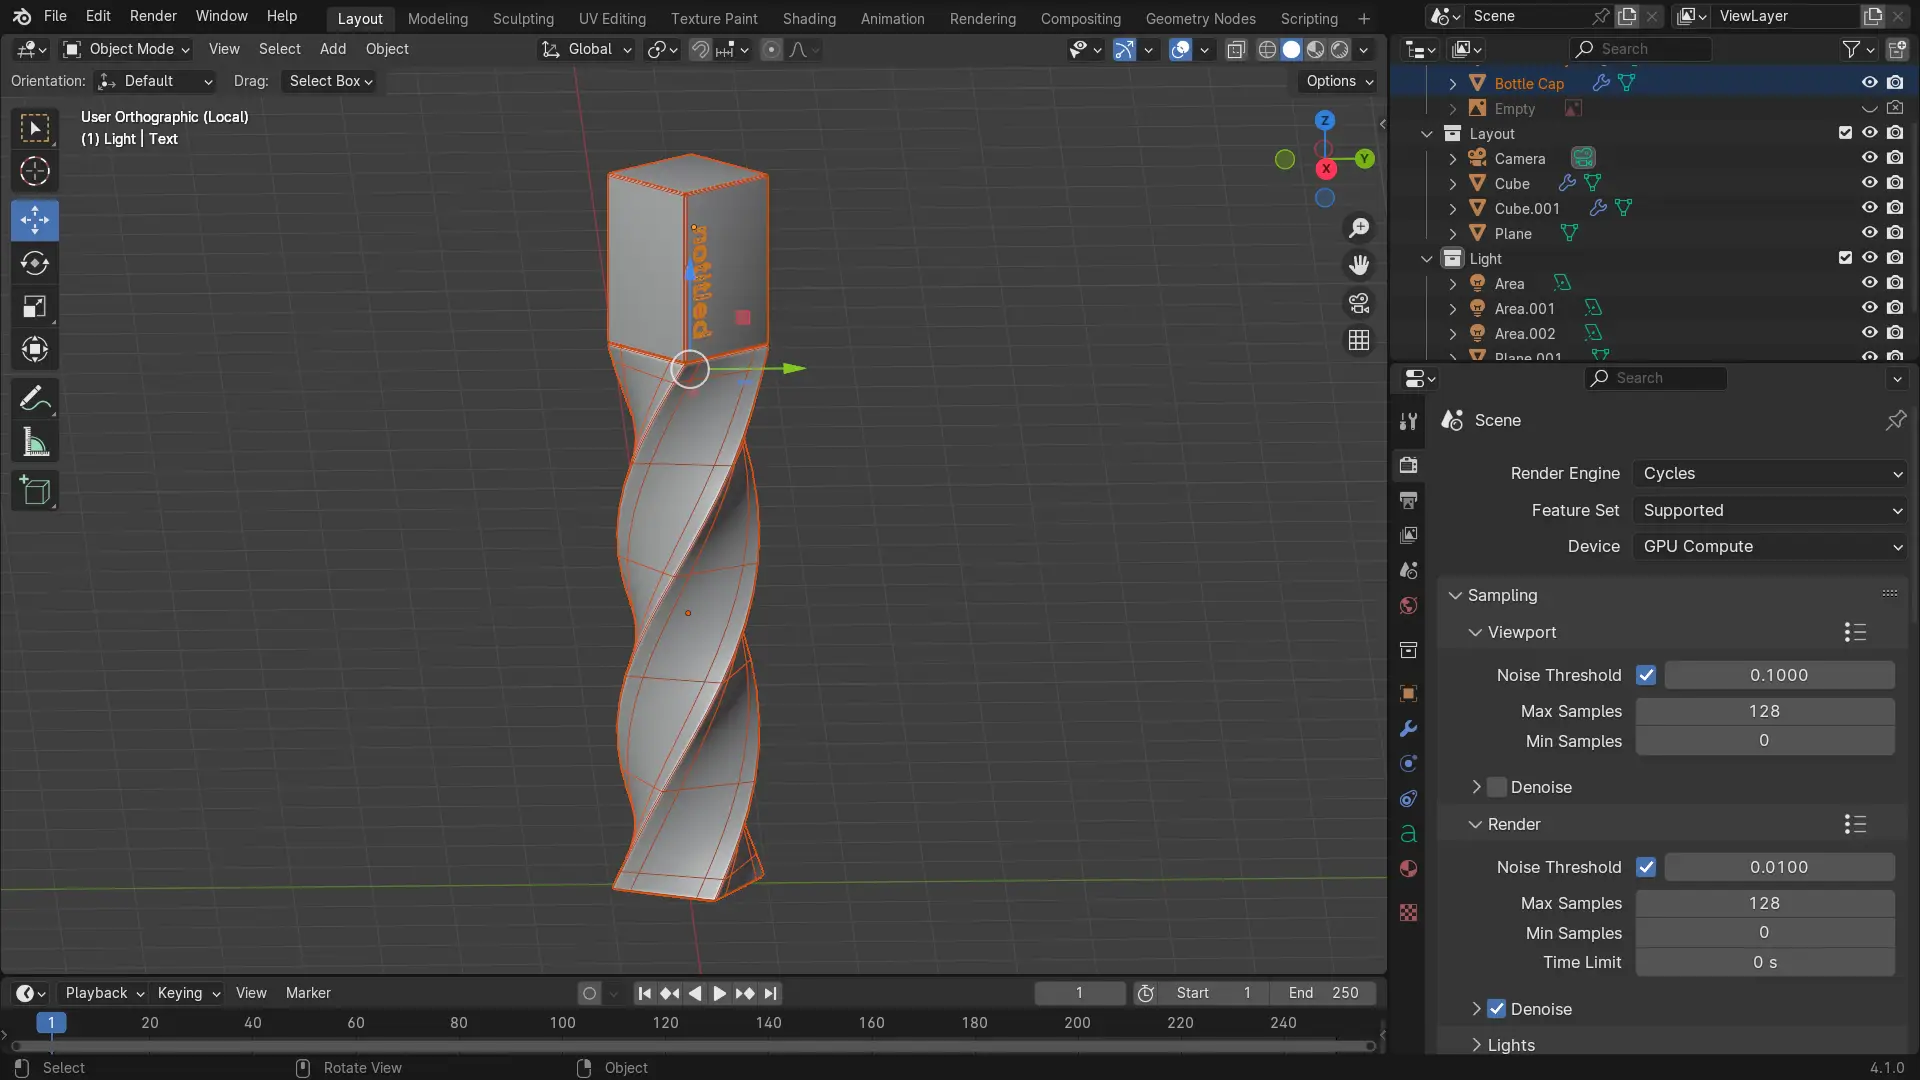
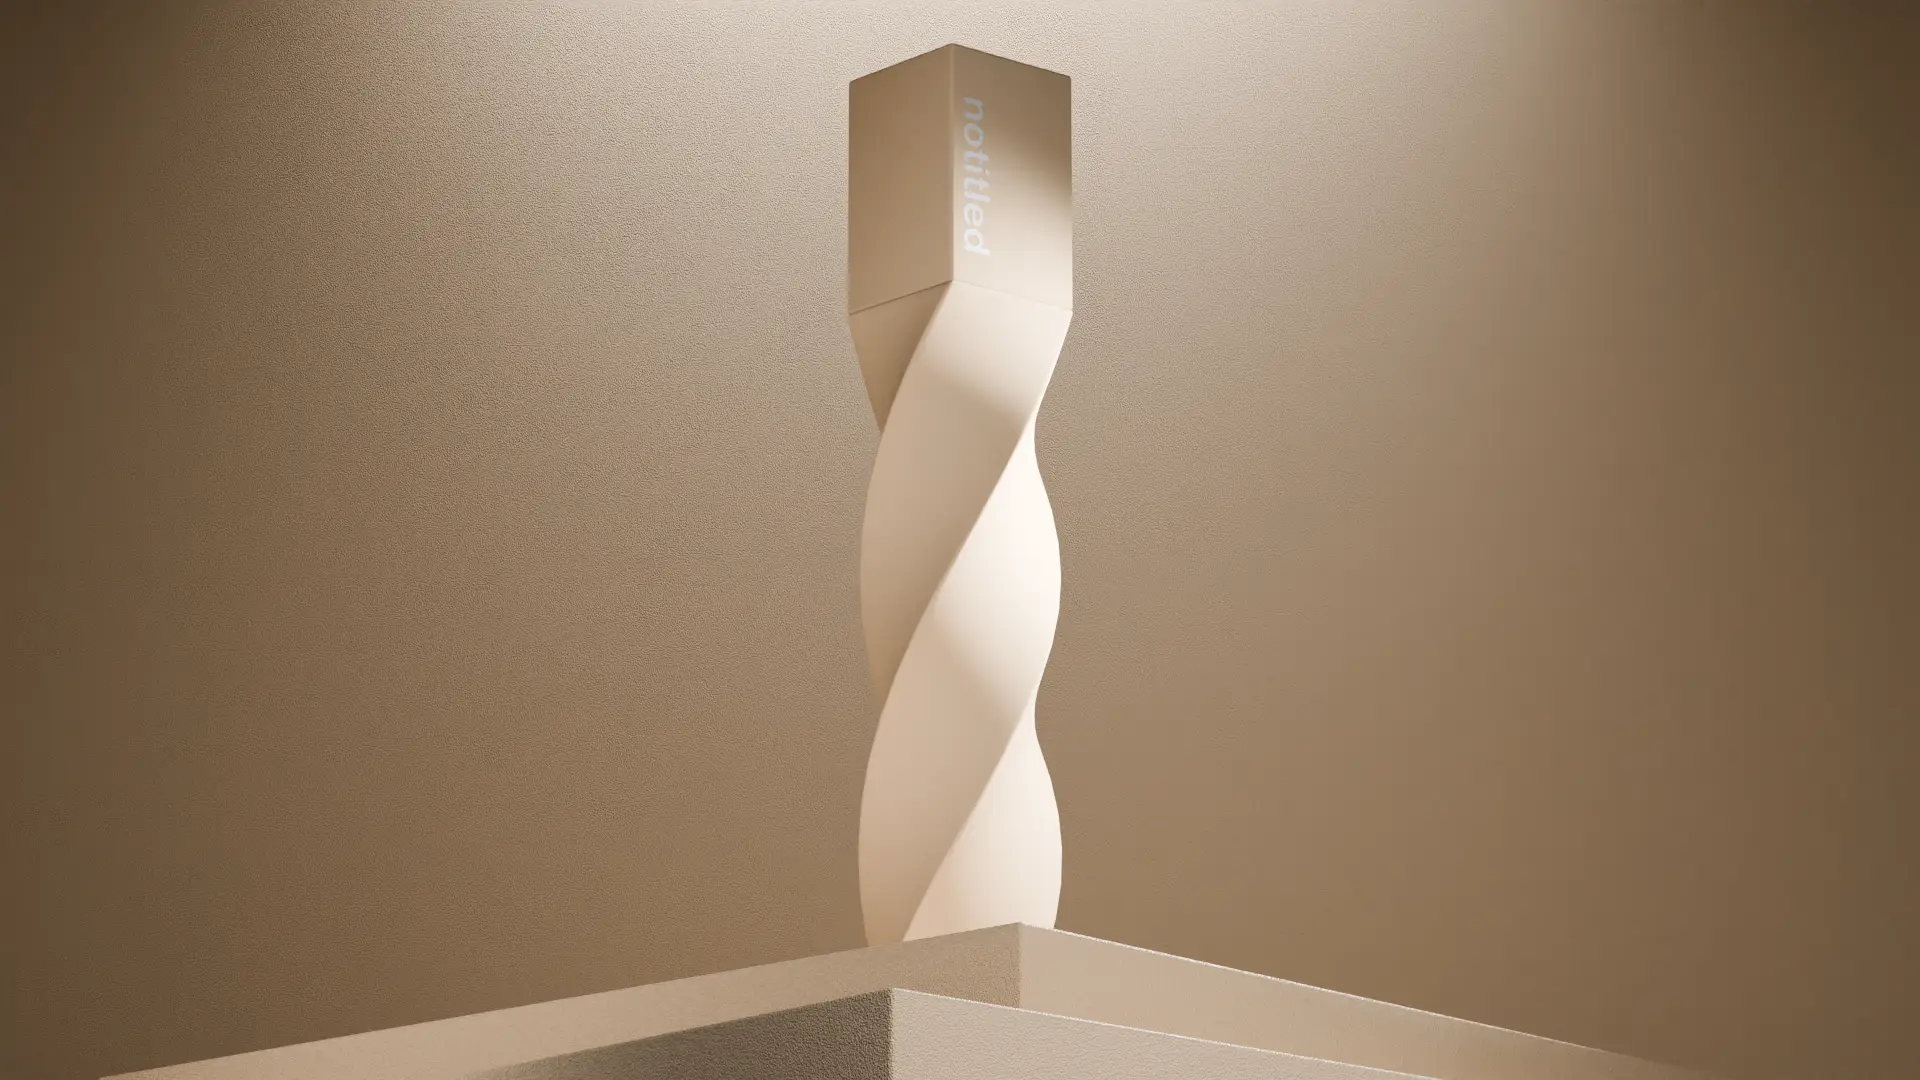
Learn how to create this simple model using Modifiers in Blender.
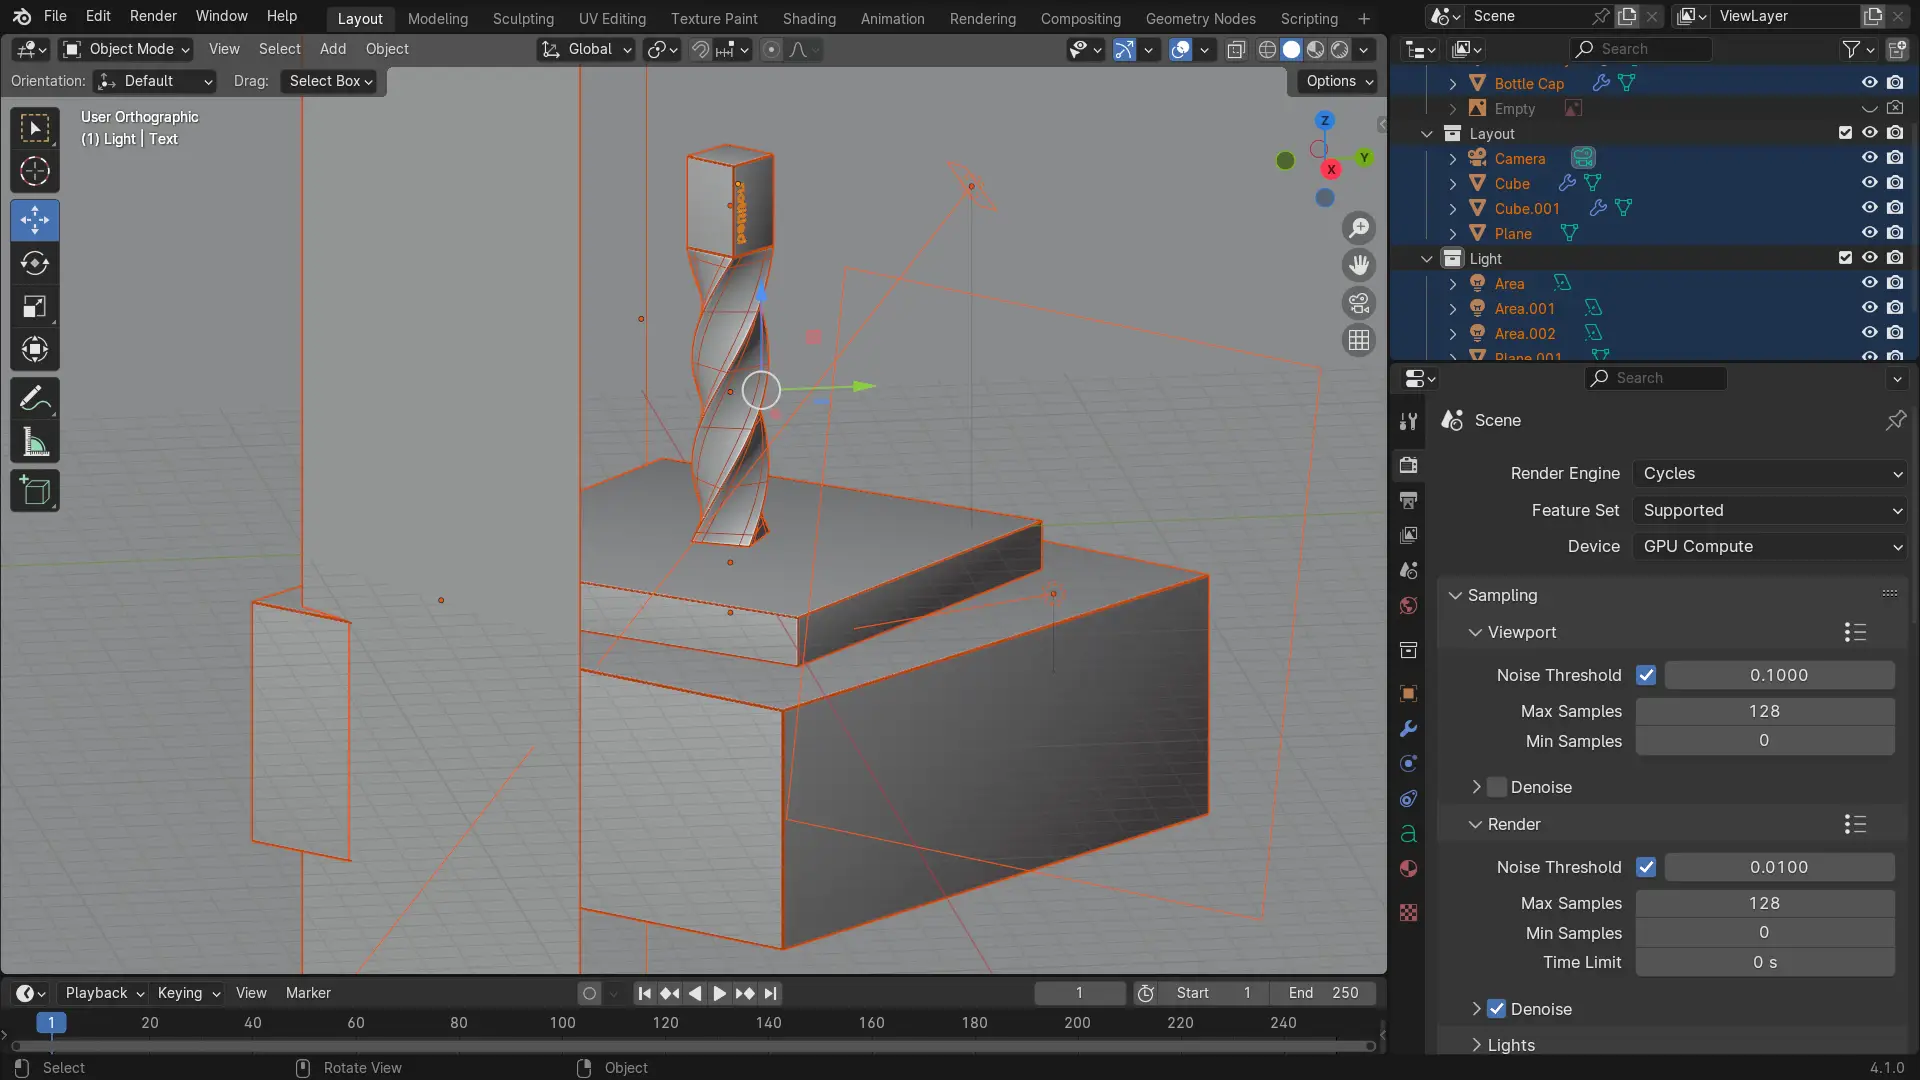
Creating Simple abstract scene to setup our model to lighting and rendering
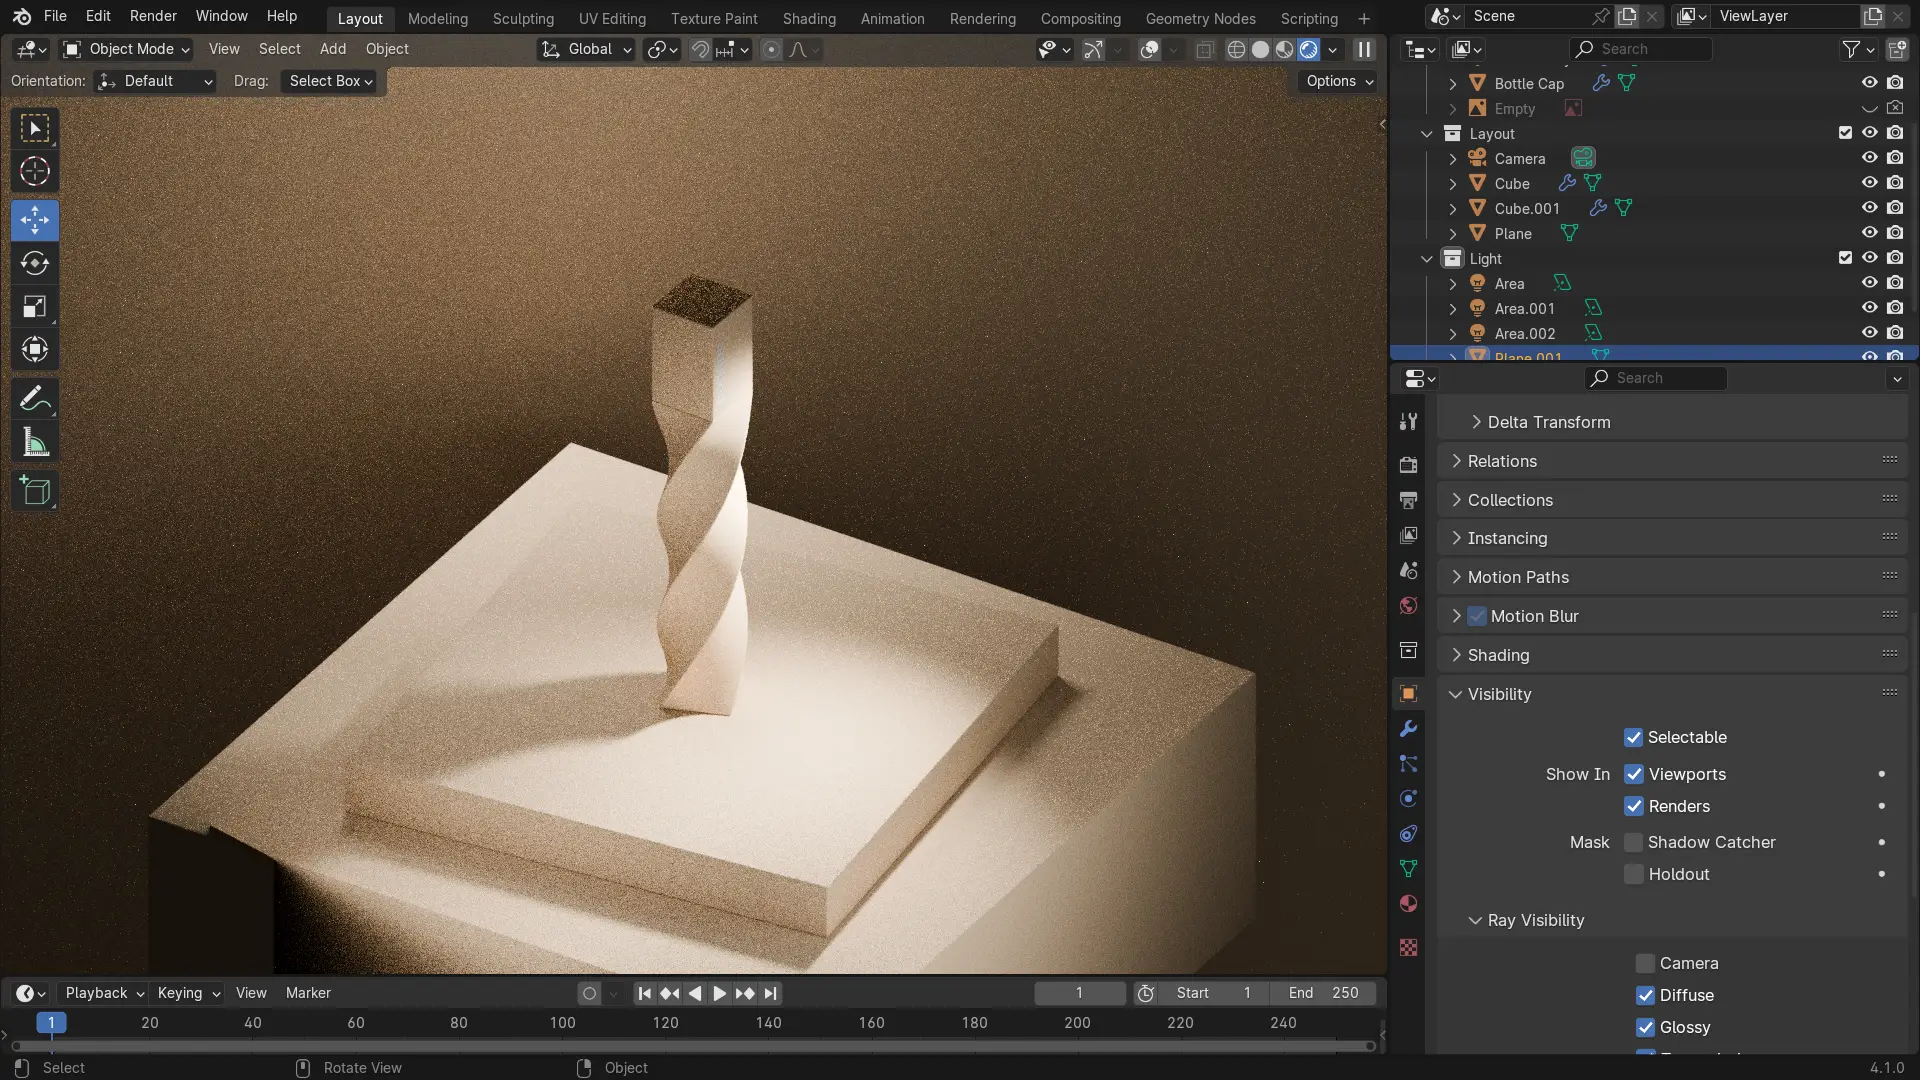
Creating our Materials and Rendering the scene
Course Carriculum
body:not(.elementor-editor-active) .elementor-widget-accordion .elementor-tab-content {
display: none!important;
}
01 – modeling essentials in blender 02
1.1 joining & separating objects
1.2 merging by distance
1.3 fill & grid fill
1.4 bridge edge loop
1.5 merging & disolving edges
1.6 joining vertices
1.7 knife tool
1.8 knife tool example
1.9 bisect tool
02 -package visualization
2.1 Importing Referance
2.2 Modeling Our Bottle
2.3 Setting Our Abstract Environment
2.4 Adding Our Camera
2.5 Adding Bevels
2.6 Render Setting
2.7 Lighting Our Scene
2.8 Adding Materials
2.9 Adding Our Text
2.10 Rendering Our Scene
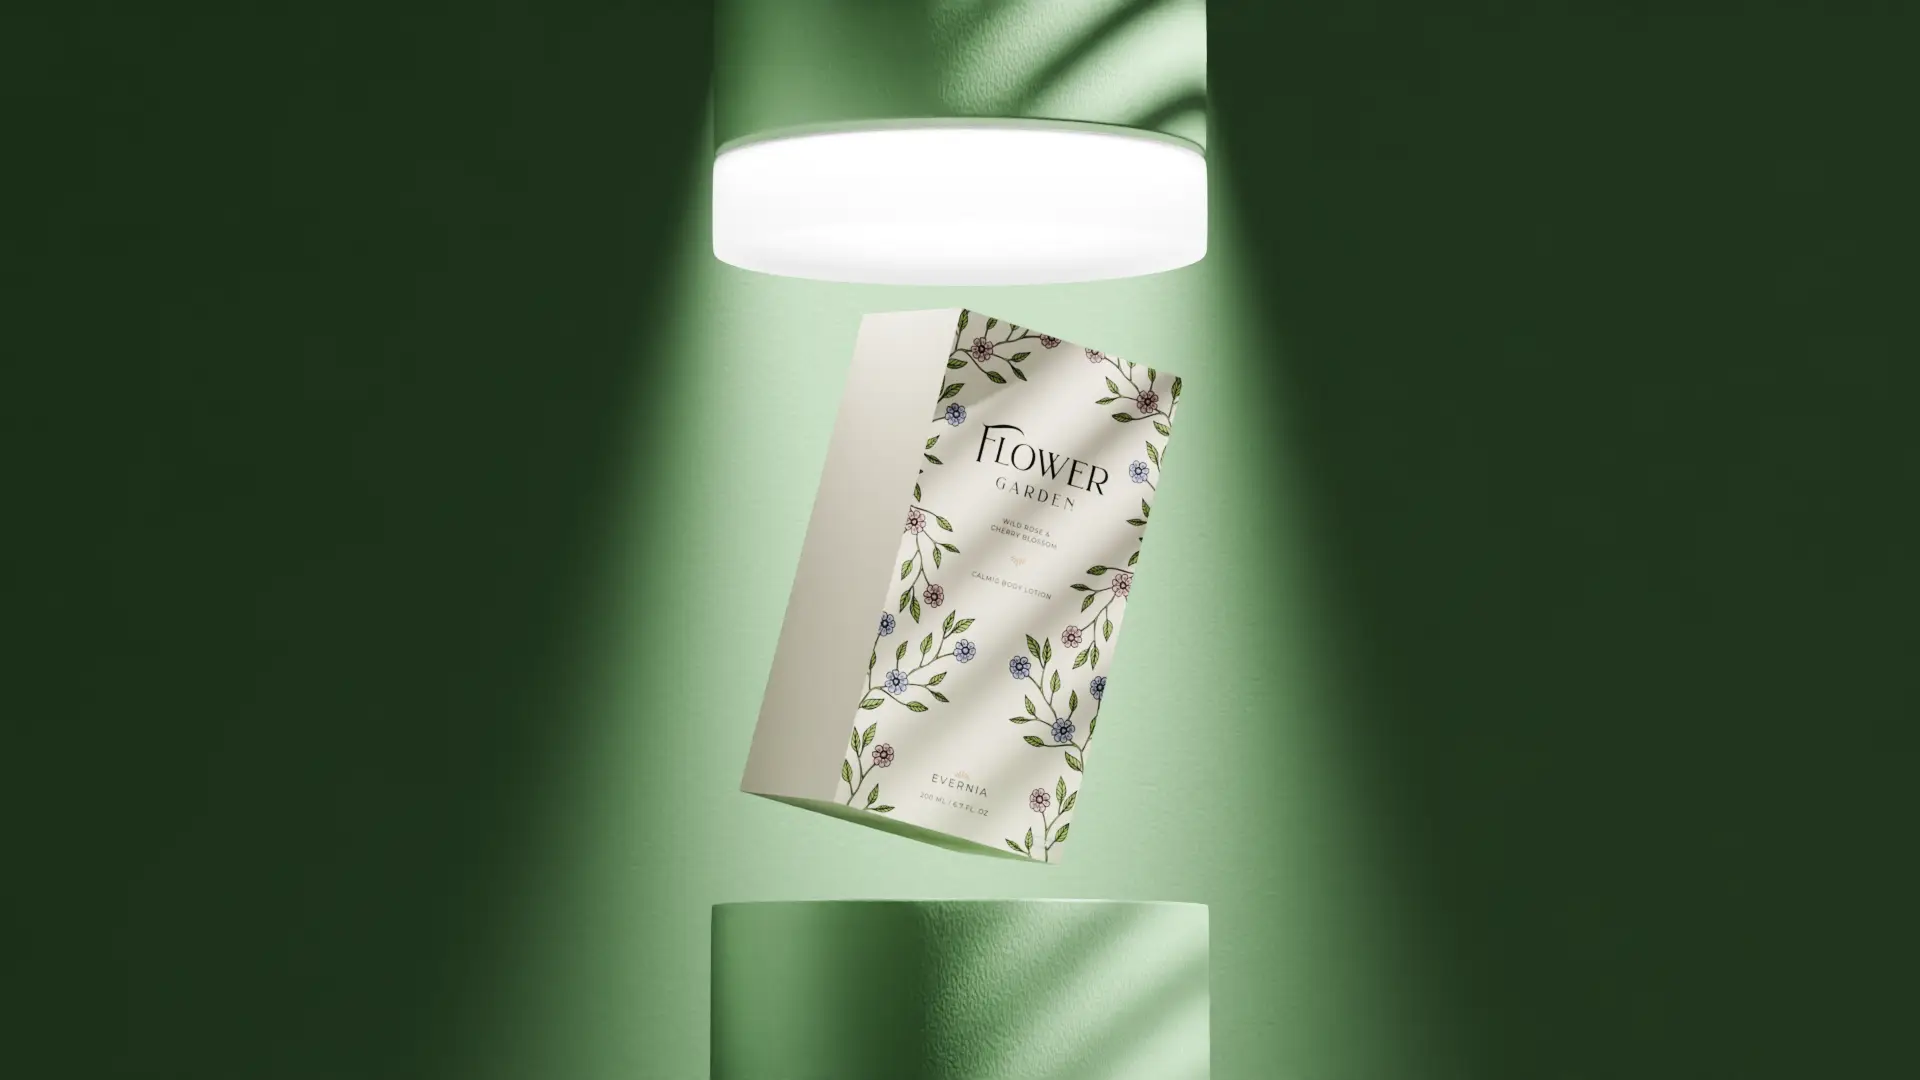
Level Two Part 02
Package Visualisation
- Creating our Scene from a reference from pinterest.
- Using Gobos to Light.
- Rendering our Scene.
Course Duration : 1h 45Min
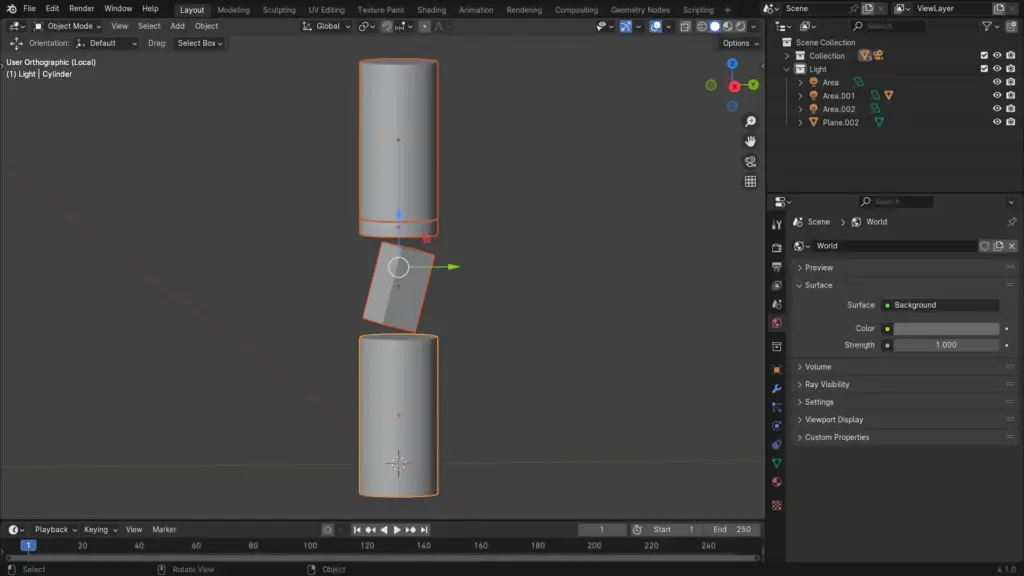
Setting up our Layout and Model.
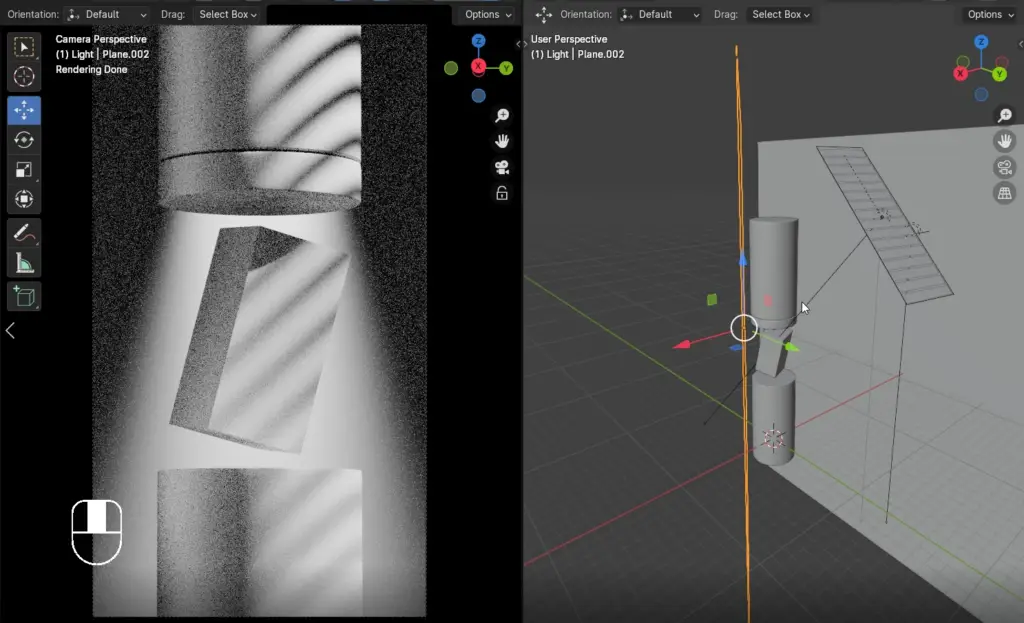
Using Gobos to Make stunning Lighting.
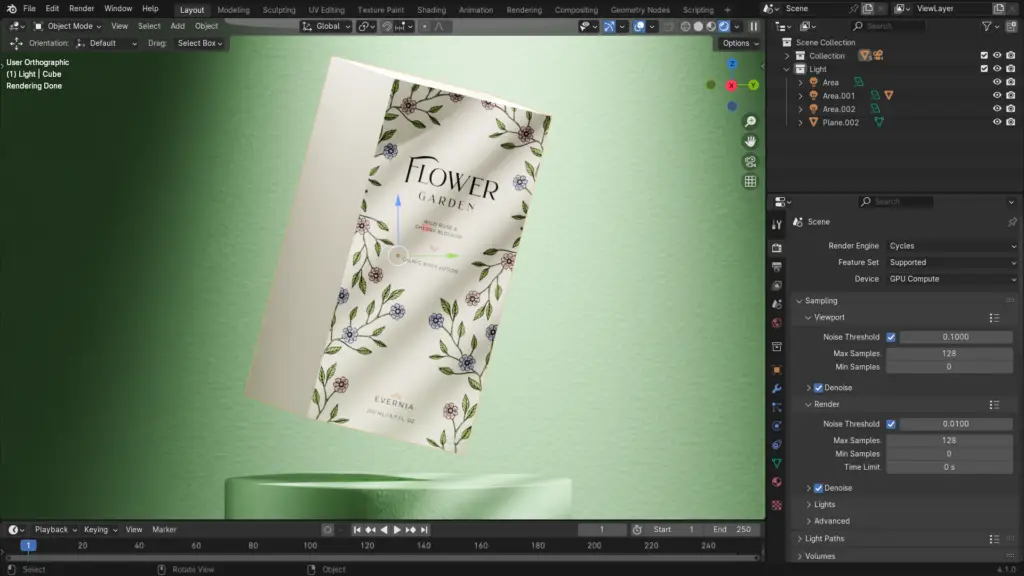
Simple Uv projection for the Model
Course Carriculum
body:not(.elementor-editor-active) .elementor-widget-accordion .elementor-tab-content {
display: none!important;
}
03 – boolean & mirror operations
3.1 boolean & mirror operations
04 – package visualization 02
4.1 Setting Up Our Scene
4.2 Adding Our Camera
4.3 Lighting Our Scene 01
4.4 Lighting Our Scene 02
4.5 Adding Materials
4.6 Adding Label & Rendering
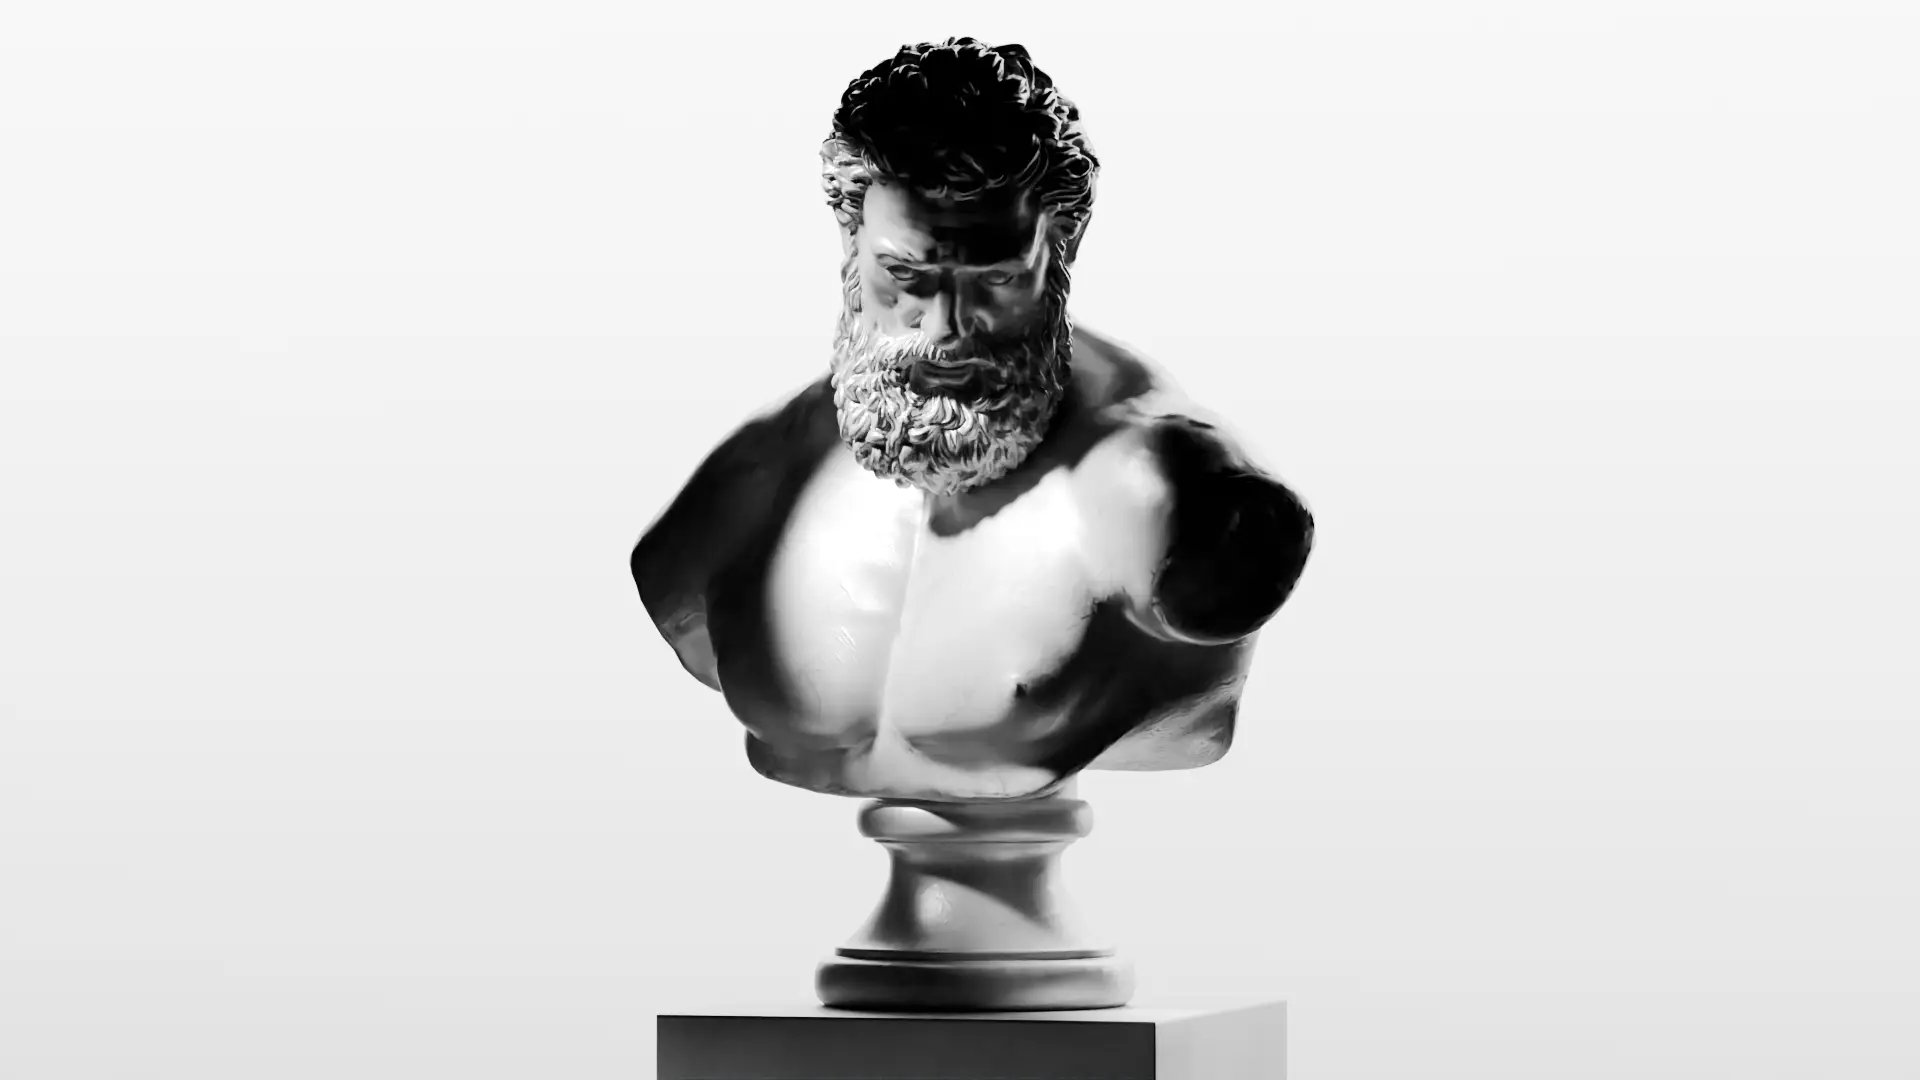
Level Three
The Art Of Lighting
- Learn the basics of how light works in Blender
- Create multiple lighting setups
Course Duration : 35Min
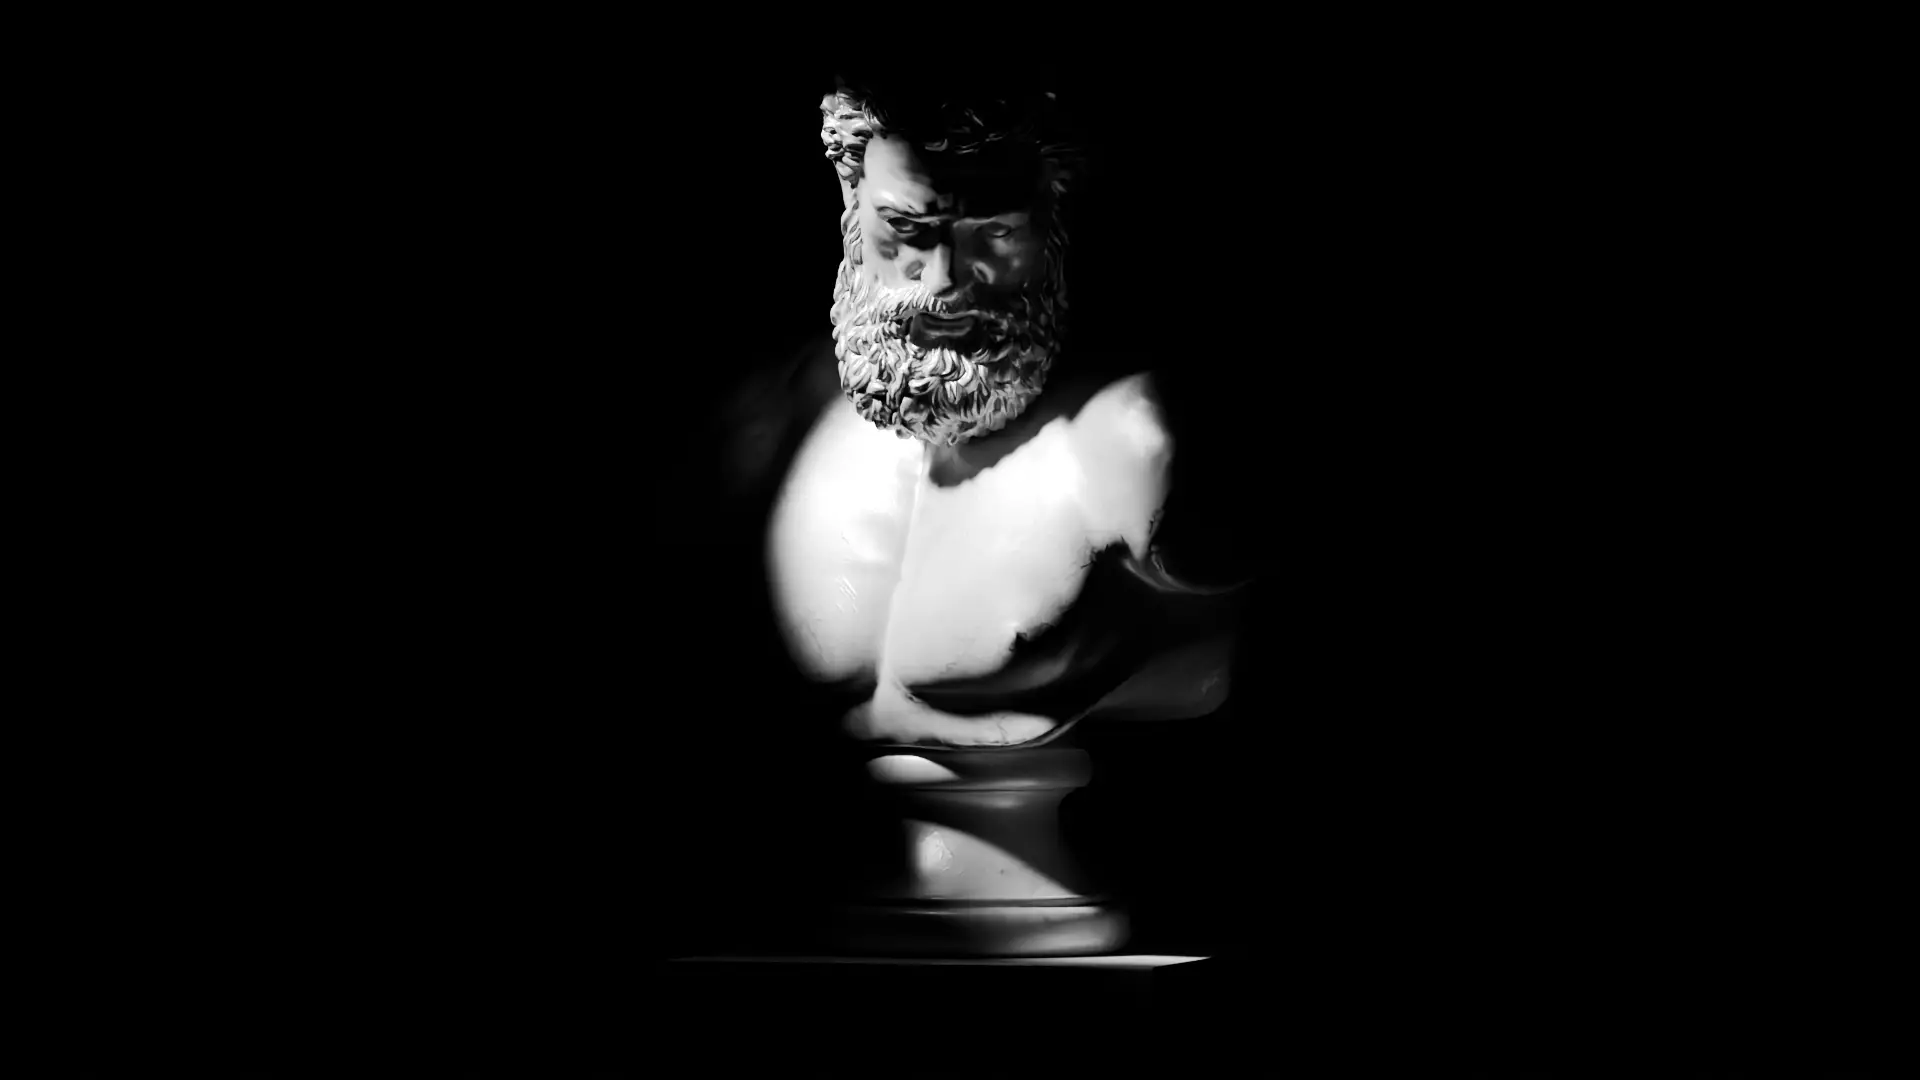
One Source Lighting
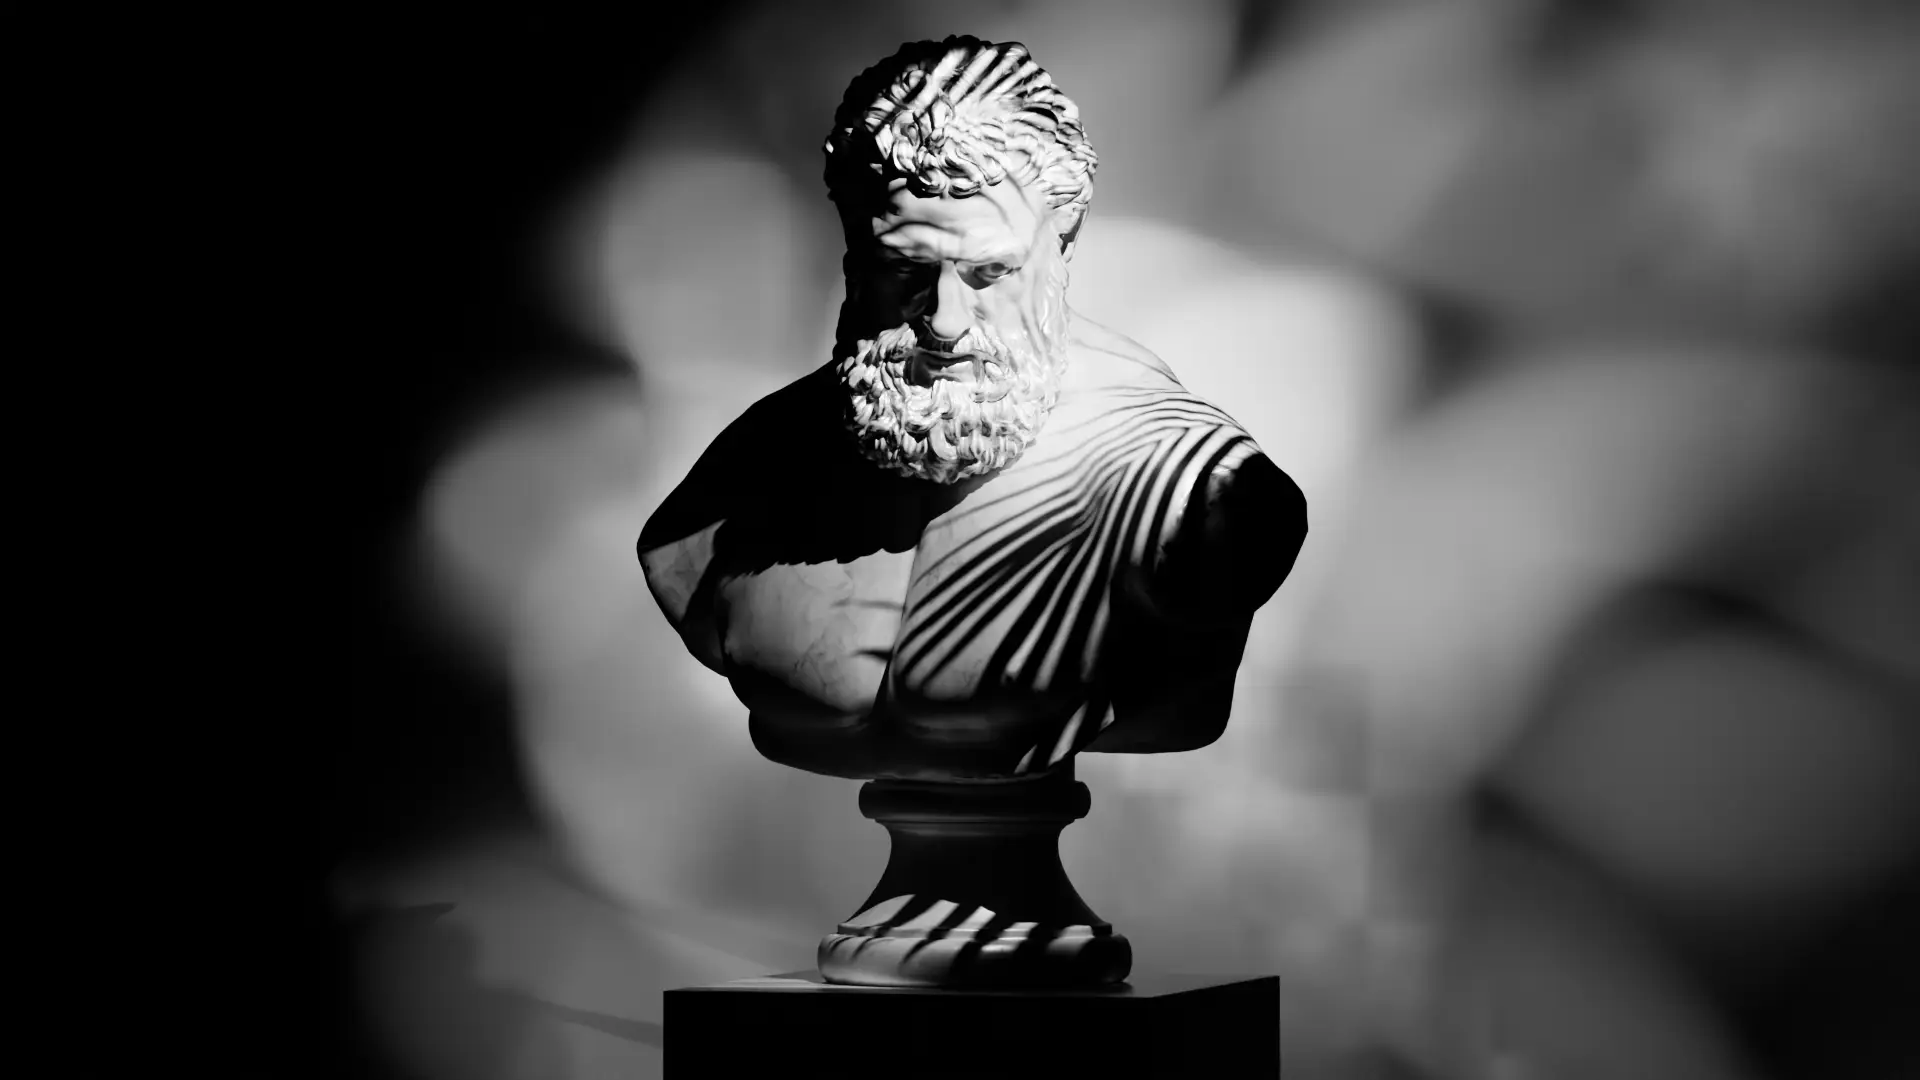
Learn the basics of how light works in Blender.
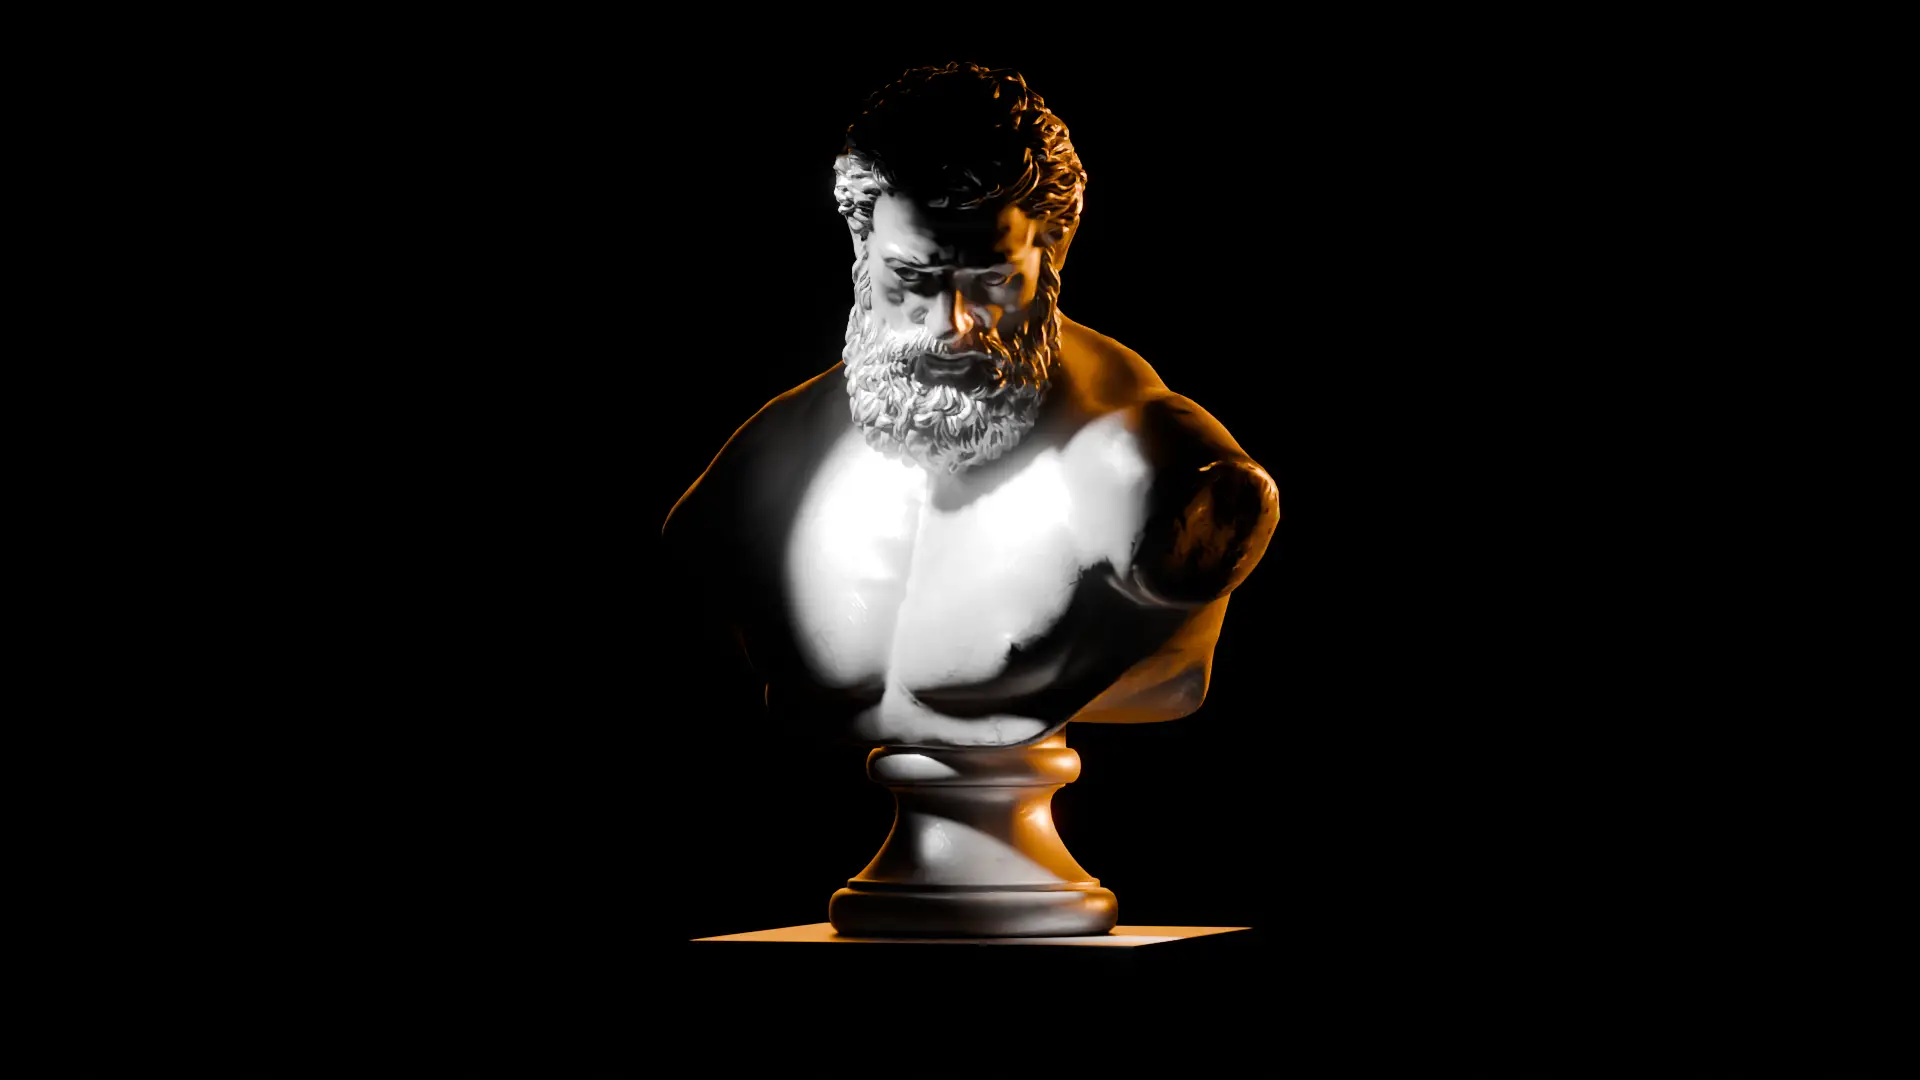
Two Source Lighting & Rim Lighting
Course Carriculum
body:not(.elementor-editor-active) .elementor-widget-accordion .elementor-tab-content {
display: none!important;
}
01 – the art of lighting
3.1 Lighting Introduction
3.2 Lighting Setup 01
3.3 Lighting Setup 02
3.4 Lighting Setup 03
3.5 Lighting Setup 04
3.6 Lighting Setup 05
3.7 Lighting Setup 06
3.8 Lighting Setup 07
3.9 Lighting Setup 08
3.10 Lighting Gobos Textures
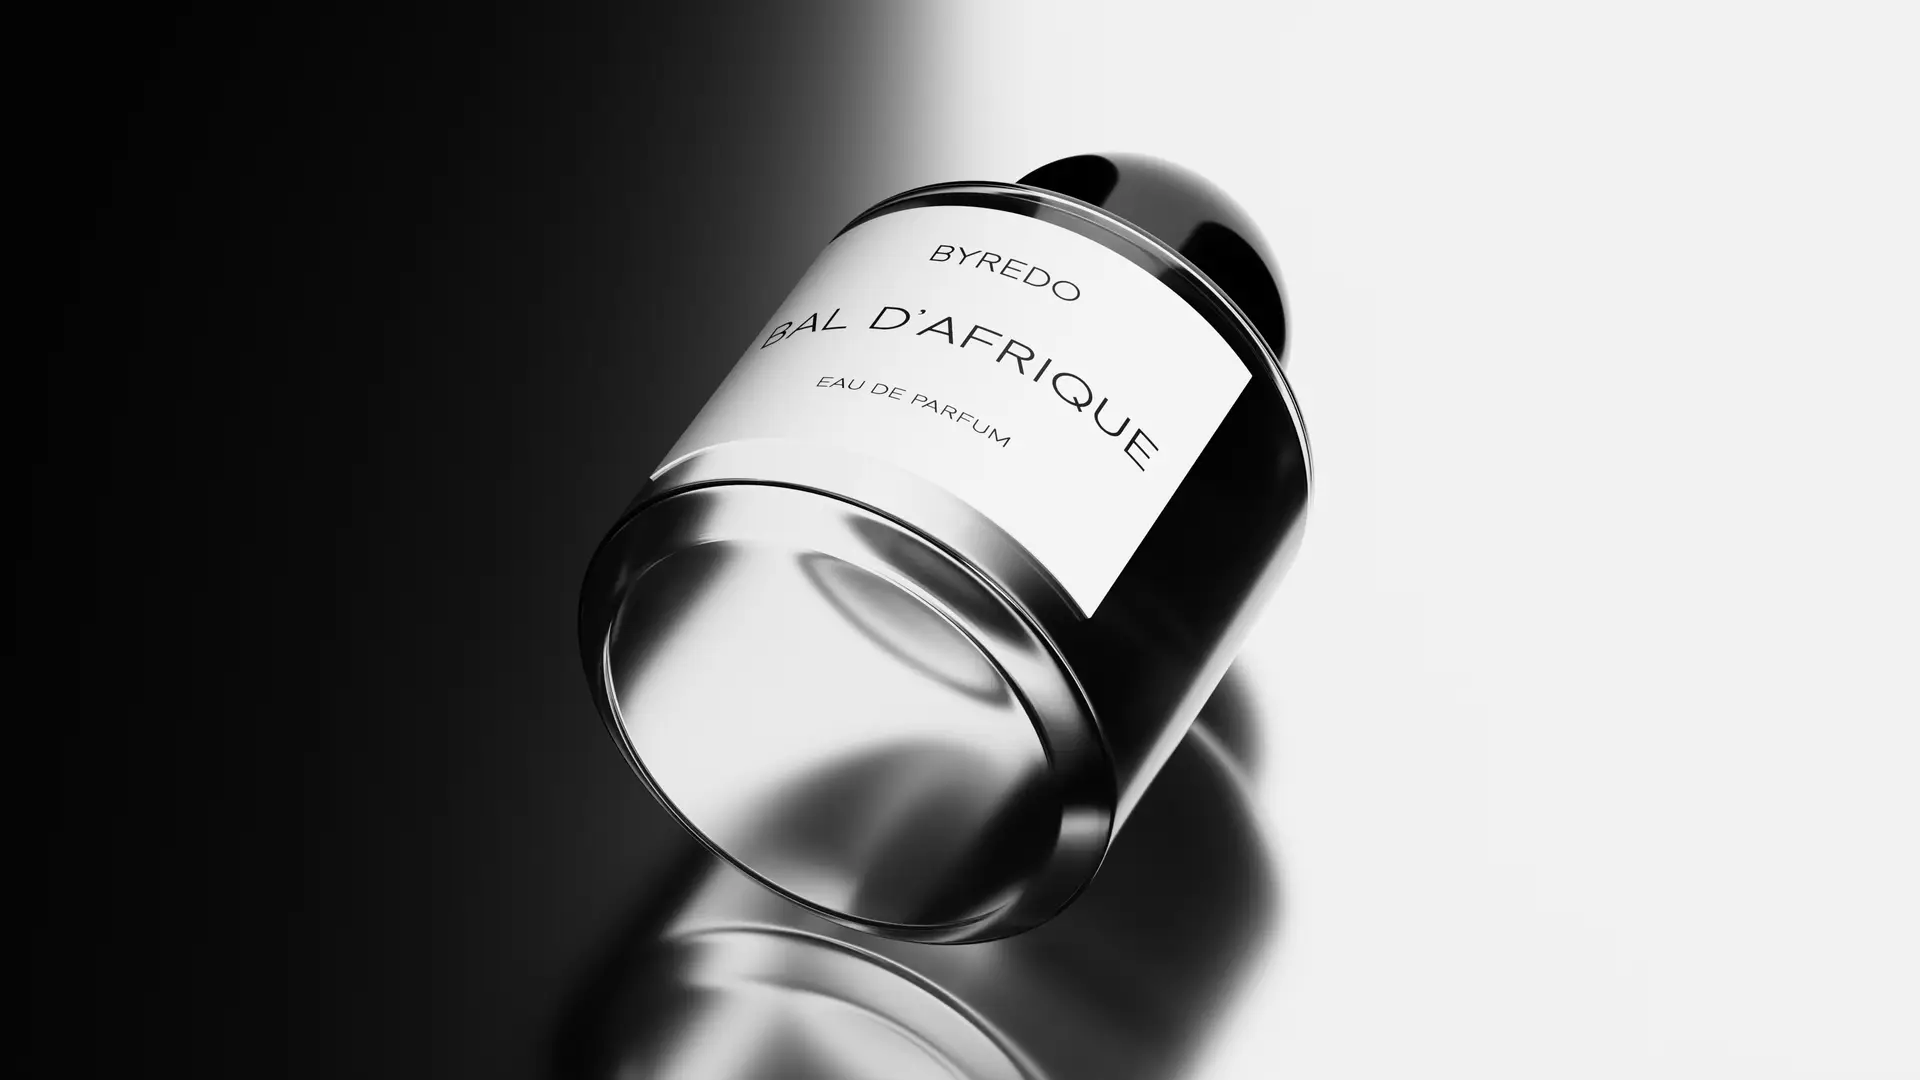
Level Four
Perfume Modeling / Studio
Lighting
- Learn how to use sub-division modelling workflow
- Setup our Studio Layout Learn how to Render
- Multiple Shots from the same scene with different Lightings.
Course Duration : 40Min
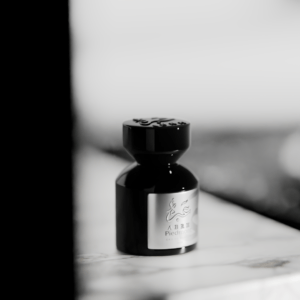
Learn how to model the perfume from a google photo.
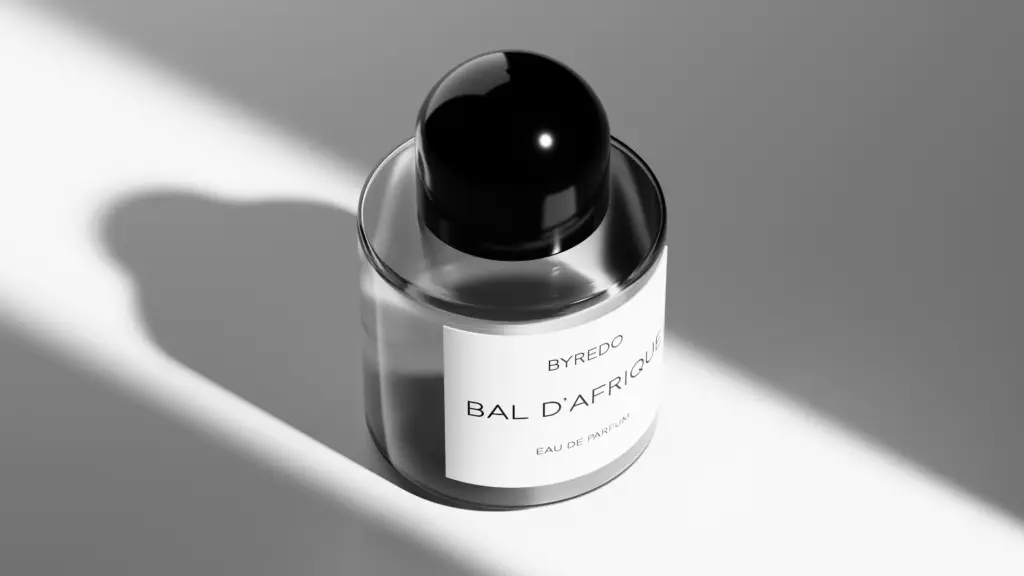
Shading our glass model
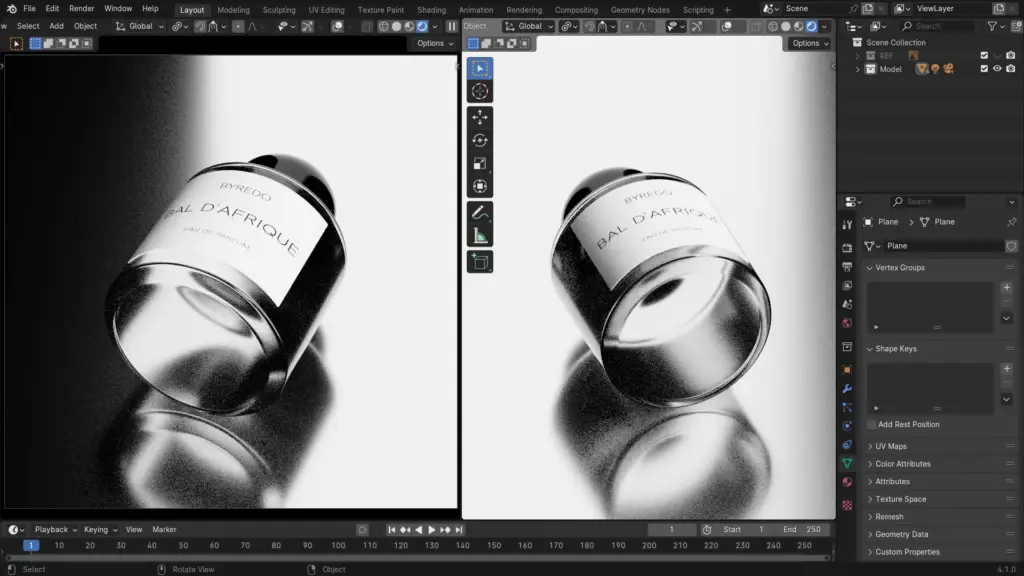
Create realistic Studio Renders for your Model.
Course Carriculum
body:not(.elementor-editor-active) .elementor-widget-accordion .elementor-tab-content {
display: none!important;
}
01 – Perfiume Studio Renders
4.1 Studio Rendering Introduction
4.2 Adding referance
4.3 modeling our perfume
4.4 adding label
4.5 adding HDRI
4.6 perfume materials
4.7 rendering PNG images
4.8 Lighting our scene
4.9 controlling our perfume
4.10 rendering test 01
4.11 rendering test 02
4.12 lighting common mistakes
4.13 rendering reel resolution
4.14 rendering test 03
Level Five
WaterBottle Visualization
- Modeling Using BluePrint.
- Lighting Using Emission Planes
- Learn how to Render Multiple Shots from the same scene with different Lightings.
Course Duration : 35Min
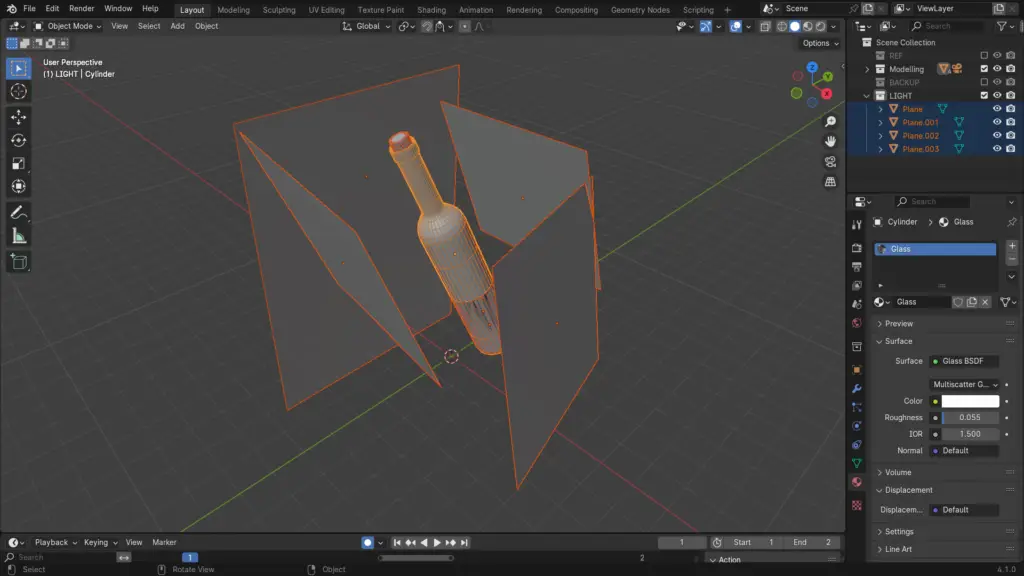
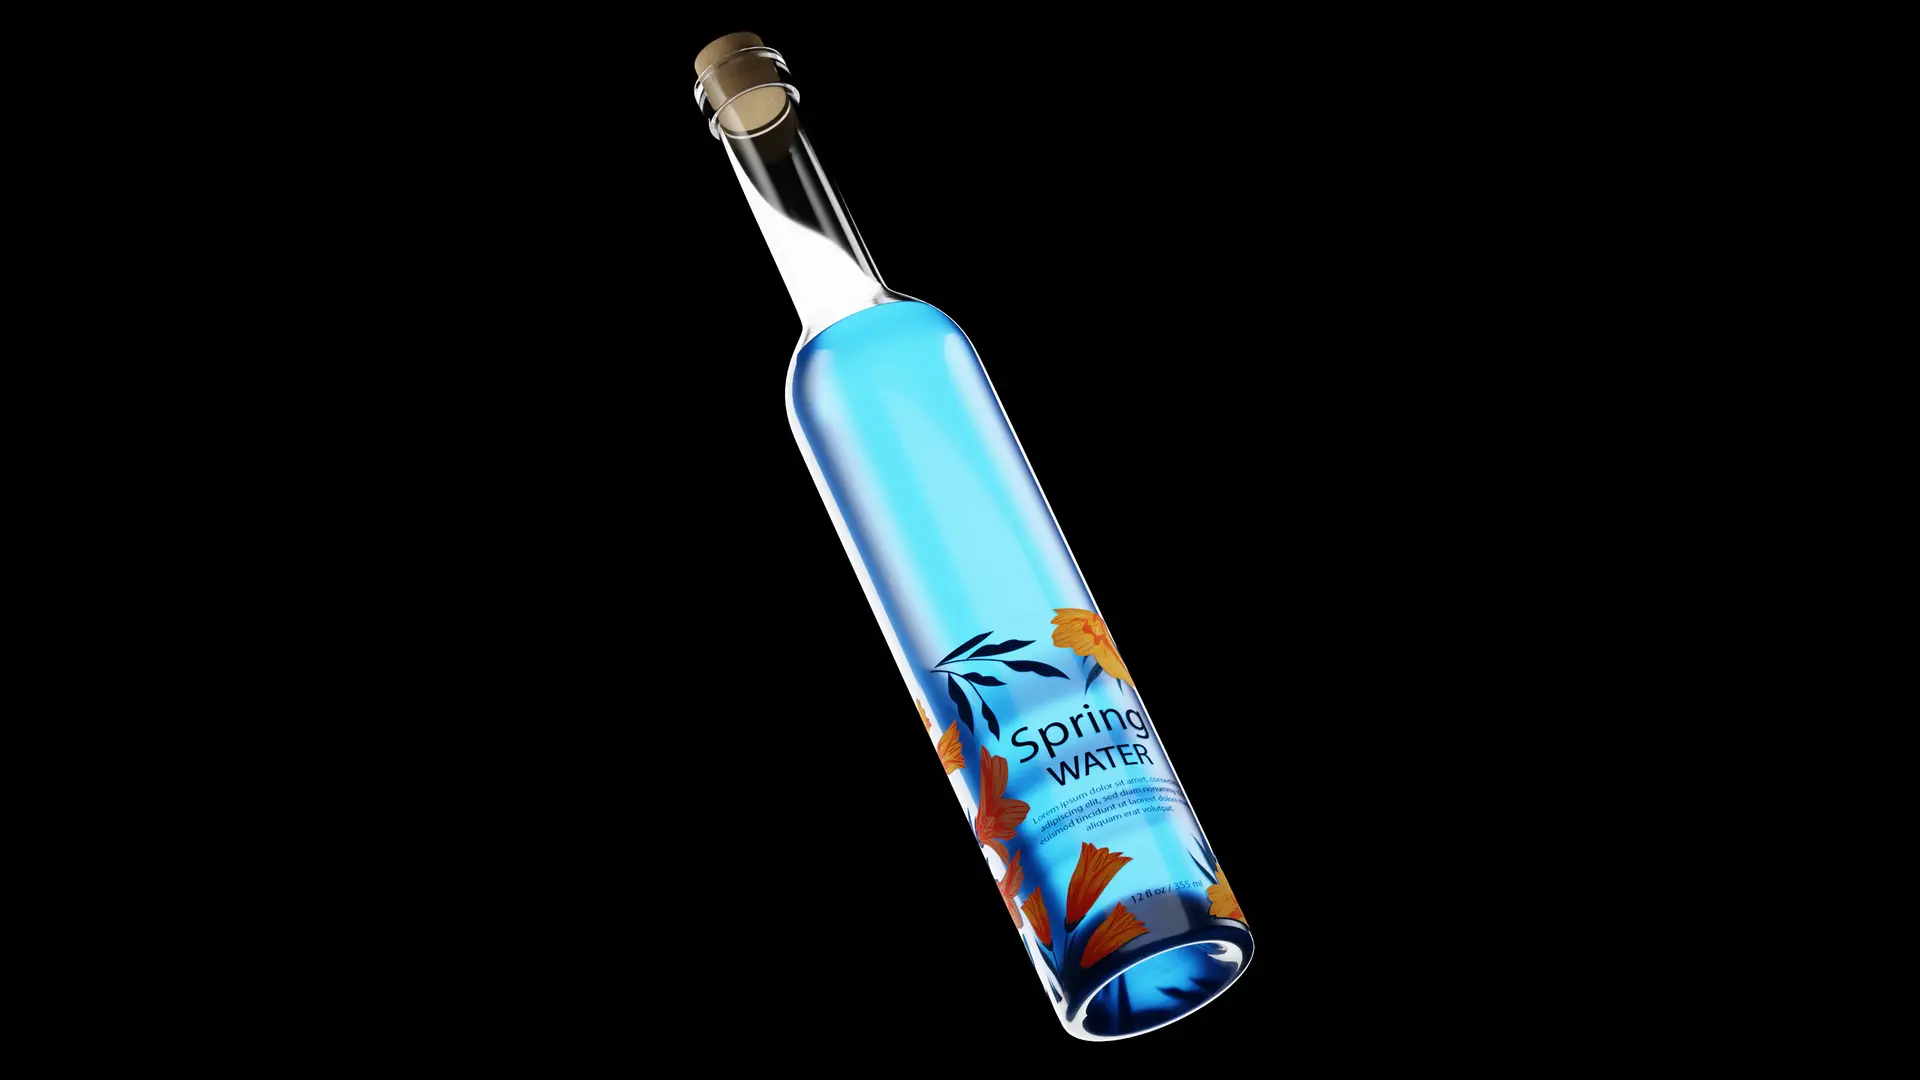
Learn to Model using a BluePrint.
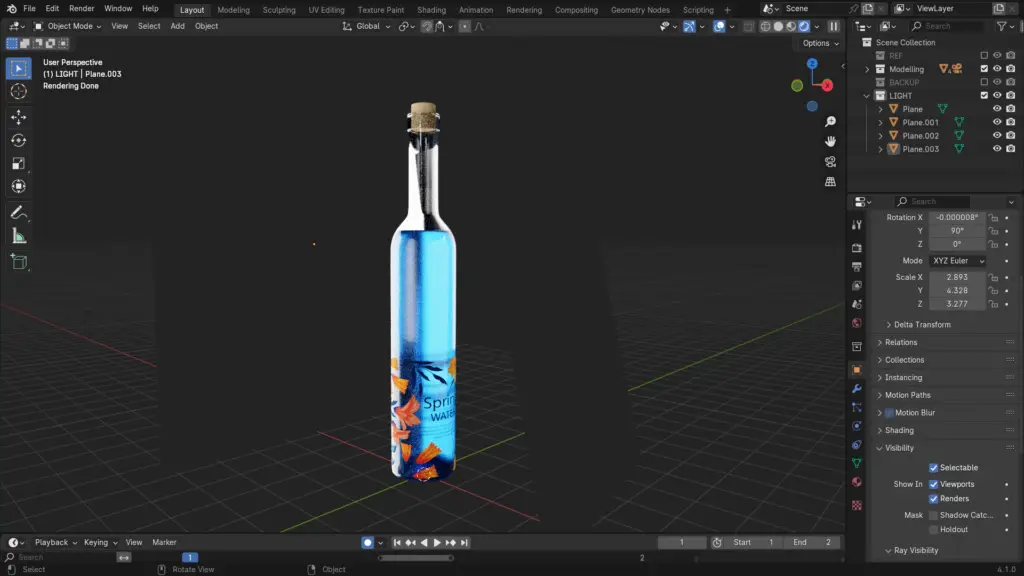
Shading our glass model
& Lighting using Emissions Planes Only.
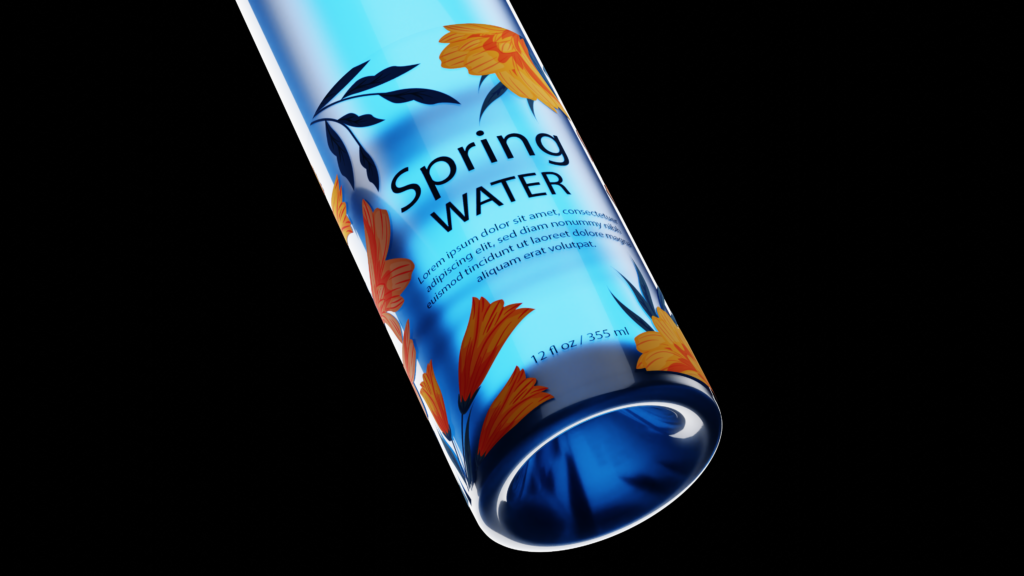
Rendering Hero Shot.
Course Carriculum
body:not(.elementor-editor-active) .elementor-widget-accordion .elementor-tab-content {
display: none!important;
}
01 – Water Bottle Render
5.1 importing referances
5.2 modelling bottle
5.3 adding liquid & bottle cap
5.4 shading and texture
5.5 adding label
5.6 lighting
5.7 rendering
Are you serious about 3D Product Visualisation?
Waste no time and enrol today!
ONE PAYMENT OF
169$
89$
199$
70$
- Lifetime Access
- Professional Training
- Ongoing course
- Discord Community
- All Source Files “Blender Files”
- 2 days Refund Policy
Payment methods
- VISSA/CREDIT Cards through the course link
- Mobile wallets on the following number :+20 1067030344
FAQ
How long do I have access to the course?
For a lifetime. You paid for this so you should have access to it whenever you want!
What software does this course use?
Blender of course! Also keep this a secret but I am learning houdini for motion graphics. So one day you may see some wicked simulations
When does the course start and finish?
The course starts and never finishes! We will always be adding new content and courses to help you become the best artist possible.
Is this course for beginners?
This course is for beginner to intermediate users. Whether you are a newbie or have some understanding.
What if I am unhappy with the course?
We don’t want you to feel uncomfortable about the purchase you have made. So we offer a 2 days money back guarantee
Showing all 2 results
-
Uncategorized
Seif Hussam 3D Course
Original price was: 10,000 EGP.5,000 EGPCurrent price is: 5,000 EGP. Add to cart
